

DIY Floral Tapered Candles
Though Fall doesn't technically start until September 22nd, that doesn't mean that you can't get into the cozy spirit before then. One way that I like to get into the cozy spirit of the soon-to-be season, is by doing a fun DIY project to set the mood. Fall has always been a time for handmade items and creativity for me, so I'd like to share a recent Fall time craft I did which involves flowers and tapered candles.
I've been seeing these pretty tapered candles adorned with what looks like pressed flowers and thought to make them for a fall tablescape. What I love about this project is that not only is it low cost, but it can go for any season. All you have to do is change up the candle and flower colors to make it season appropriate.

To do this project you will need the following items:
1. Tapered candles, as many as you'd like. I got mine from Folke, a local mid-century furniture store. They have a variety of colors available from fall tones to pastels to neutral tones.
2. Pressed flowers and/or pressed greenery depending on the look you want. I recommend nothing too stiff that way it can lay flat and actually stick to the candle. You'll be using candle wax to get the pressed foliage to stick.
3. A spare candle to burn. We will be taking a paintbrush and collecting melted wax from the candle to use as our glue. I recommend using a candle that is the same color as your tapered candles because there will be wax residue left on your tapered candle when you're done.
I used a white candle for wax and it left white wax on my tapered candles, so I waited for them to dry then proceeded to gently scratch the excess wax off. If you want to skip this step then I recommend using white tapered candles and a white candle for wax.
4. A paintbrush that you don't mind disposing after you're all done. I don't need to explain that you don't want to use your expensive brushes on this project, so best to stick to a cheap paintbrush.
5. Something to collect any dripping wax such as tissue paper to help minimize any mess.
Once you've collected all your tools now it's time to begin so turn on your favorite fall ambient music and let's get to crafting!

Step One
For this craft, I used leftover petals and individual blooms from a dried hydrangea I had lying around. I chose it because of the brilliant shade of blue the hydrangea had been colored and I've always loved working with bold colors in my crafts. For my darker candle I used pieces of a pressed bleached fern.
For easier access as you're working with the hot wax, you may want to lay out all of your flowers so you can easily grab the next one as you adhere them.

Tip: Don't forget to light your candle while doing this prep work to have the melted wax handy for step 2.

Step Two
After cleaning your tapered candles of any dust, you will want to ensure you have a substantial layer of melted wax in your burning candle to dip your brush easily. The idea is to lay your pressed flower on your tapered candle and brush a layer of melted wax across it to get it to stick to the candle.
I highly recommend first putting a dab of wax on the candle then laying your pressed flower or greenery on top of it, then holding down a corner of it with your thumb while gently brushing wax over it. Wax isn't exactly sticky so it may slide around if you don't hold the foliage down while brushing the wax on.
You may have to use a thick layer of wax to get the flowers to adhere. I found this out quickly when the thin layer I had brushed on did not totally to adhere my pressed hydrangea bloom.
As the wax begins to dry on the tapered candle you will notice that it leaves a thick layer of residue behind. The next step will be to clean this off.

Step Three
You may not have to do this next step if the dried wax is the same color as the tapered candle, however, I used a white candle on colored tapered candles so the dried wax was noticeable.
In this step, you will use your index finger to gently scratch off the excess wax. I did upward scratches versus downward to avoid getting clumps of wax under my nail. I considered using a plastic knife to do this but didn't want to leave behind an imprint of the knife's teeth.

It took me around ten minutes to scratch off the extra wax and I also used a paper towel to wipe down parts where the wax had smeared. If you are short on time or want to save yourself the hassle of doing this step, then I suggest using white tapered candles. The extra wax will blend in and if anything you may have to scratch a tiny bit of the wax off.
As far as DIYs go I was surprised by how simple it was to do this. I loved the tapered candles with pressed flowers that I kept seeing on Pinterest and wanted some for myself. I may do this again but with white tapered candles and pressed flowers in Christmas colors.


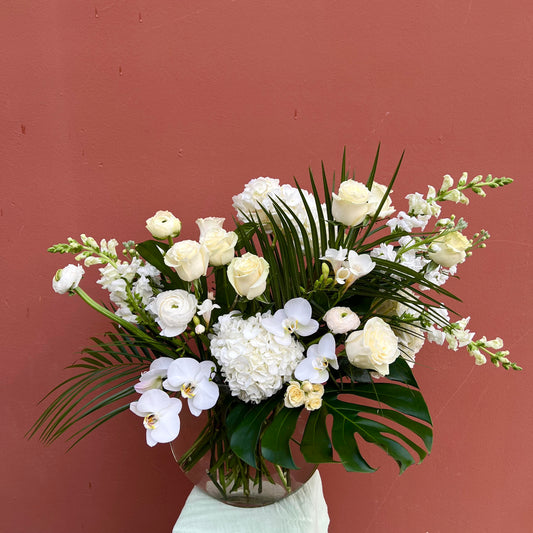
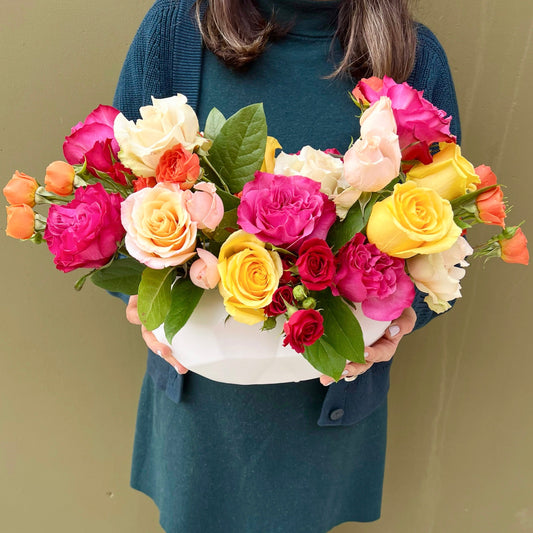
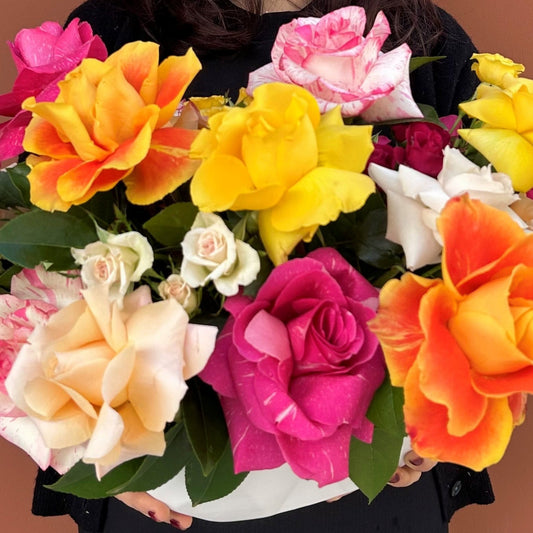
If you're looking for a way to style your candles, then I suggest creating a tablescape with a fresh arrangement perfect for Fall. This year we will be having a variety of fresh arrangements in different palettes from moody to bright.

Looking for Fall flowers? Our popular arrangements from last year will be returning! From Gorgeous Gourd, our classic fall arrangement that comes in a pumpkin, to Hello Fall which comes in a rectangular birch container. Whether you are looking to send flowers or want to create a tablescape for your dinner table, we will have the freshest flowers.
Check out our Fall collection here.
We offer same-day delivery to cities such as Thousand Oaks, Westlake Village, Calabasas, Moorpark, Malibu, Simi Valley, Oxnard, Ventura, Camarillo, and more.